Choose your pictures and your location
It may be that you already have all the pieces you want to include in your gallery wall. If not, resist the urge to run out and mass-buy wall art just to fill space. Gallery walls work best when the pieces appear collected, rather than all coming from the same source.
Most gallery walls consist of non-matching individual pieces collected over time.
Uniformity is not always wrong, however. A homogeneous gallery wall might look good in an ultramodern living room, for example.
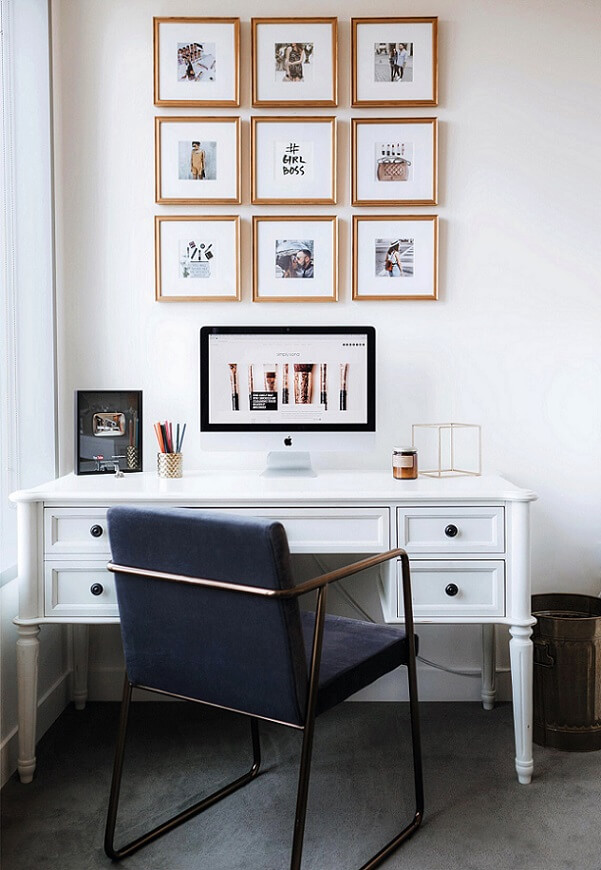
Gallery walls are bold design features that can be the focal point of any room. Choose a location for your gallery that really lets it shine. Try to find a spot that’s well-lit or consider adding some accent lighting as part of your project.
The centre of your gallery should be at eye level, unless you’re setting it above a piece of furniture. If you are, the bottom of the gallery should be 10-15 cm above the furniture.
To make your gallery wall installation go smoothly, here’s a list of gallery wall layout tools you should have at the ready:
- Craft paper for creating gallery wall templates.
- Painter’s tape for marking guidelines.
- Scissors
- Pencil
- Razor blade for removing price tags or other stickers from frames.
- Adhesive remover for the same.
- Level
- Tape measure
- Nails
- Hammer
- Velcro strips for hanging and fastening, like these Command picture hanging strips for example.
Create and cut your gallery wall templates
Moving picture frames around the wall as you design your photo layout would be a major hassle. Instead, create paper templates for all your gallery wall pieces.
Spread some large sheets of paper on the floor and lay your pictures on top of them. Trace the outlines of each frame onto the paper, then cut the outlines out. Each item in your gallery should have a paper template.
Layout picture frames and organize
Now you can start creating your gallery wall layout.
Lay out all your gallery pieces on the floor, in front of the wall where you’re going to hang them. Create your layout on the floor, where it’s much easier to move pictures around.
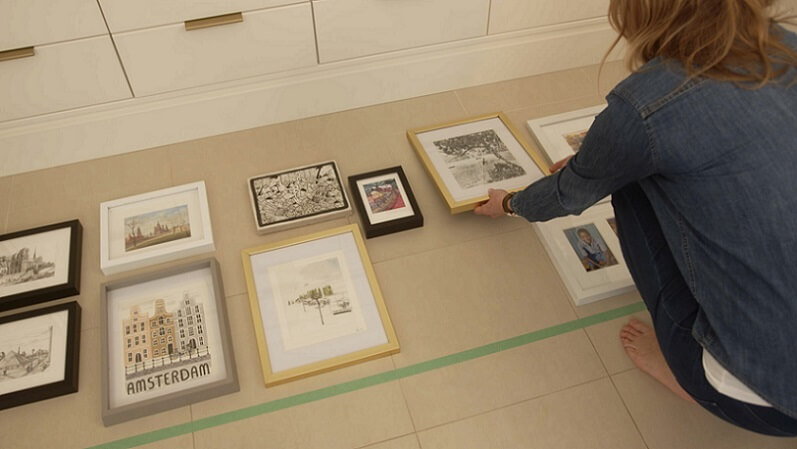
Which pictures to include and how to arrange them is entirely up to you, but there are a couple of basic rules to follow to ensure a sleek finished product:
Keep uniform spacing
One of the most important things you can do to elevate your gallery wall is to make sure that there’s equal spacing between all the pictures.
The width of spacing you choose is flexible; anywhere from 3-5 cm is common. If your gallery wall has mostly large pictures, you may want to leave a larger gap between them.
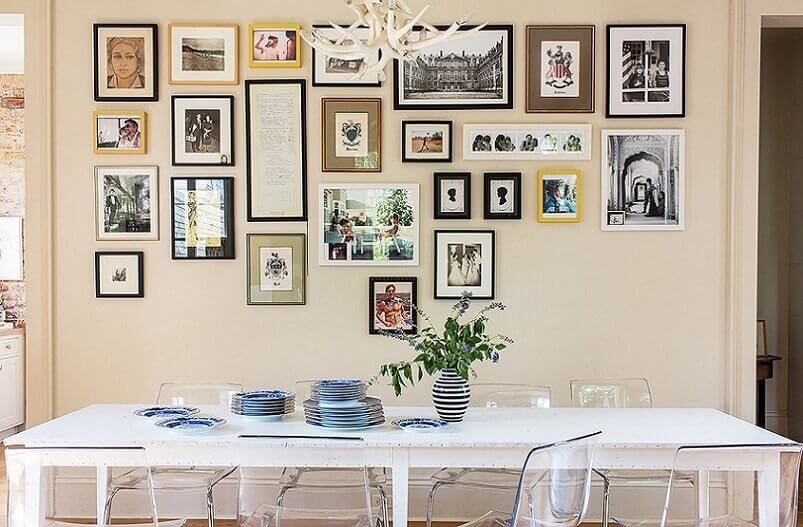
You can fudge the spacing in certain places if it’s intentional. For example, you may have 2 or 3 related pictures clustered together. It would be okay to leave a smaller gap between them compared to the rest of the pictures in your layout.
Disperse frames and colours evenly
As you create your photo layout, try to keep colours distributed evenly across the whole gallery.
When you have a gallery made of many different frames and images, crowding similar colours together can lend the gallery wall an uneven weight. Certain colours may draw the viewer’s eye more than others.
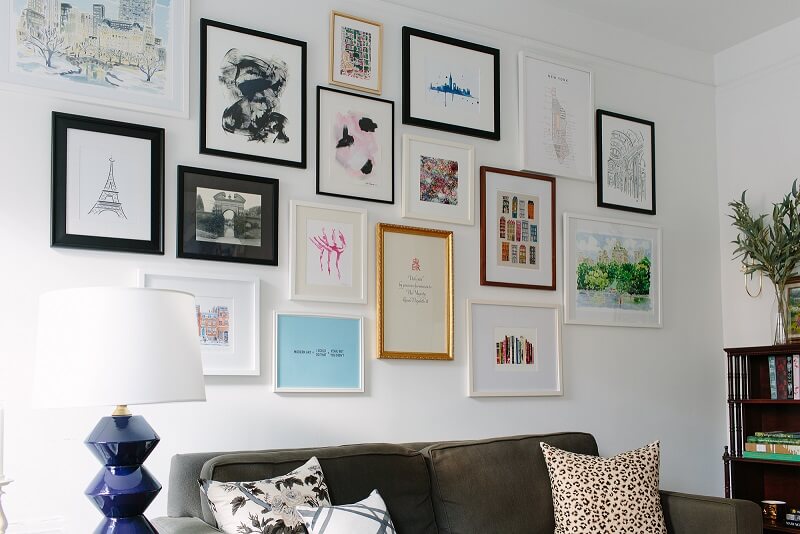
The solution is to keep your assorted colours spread across the design. For example, if you have three gold frames amongst a collection of white and grey frames, balance your layout by placing one gold frame near the centre of the gallery, and one near each end.
Design around an anchor
Choose one picture in your gallery wall to act as an anchor point around which to lay out the rest.
If you have one picture that’s much larger or bolder than the others, it should be your anchor.
If your pictures are mostly the same size and similar colours, simply choose one of the central pictures to build around.
Hang your gallery wall
You should have a finished gallery wall layout resting on the floor in front of an empty wall. Now begins the hanging.
Take the paper templates of your pictures and recreate your floor layout on the wall. You can use painter’s tape to mark the top, bottom or sides of the gallery before you begin.
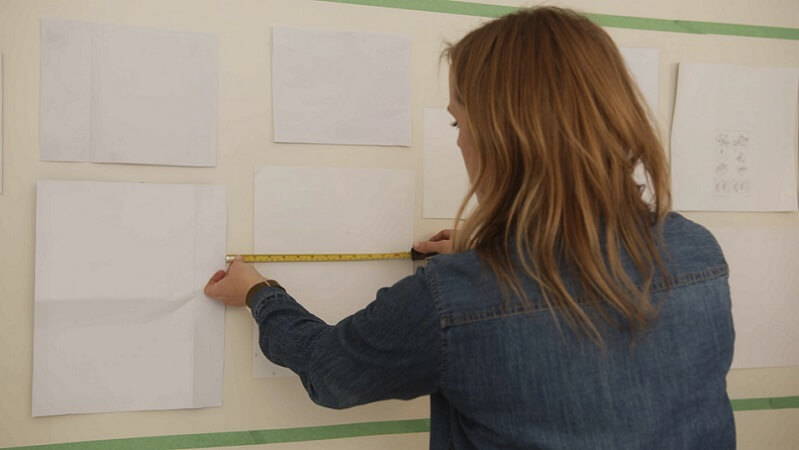
Place your papers precisely and measure the gaps between to make sure they’re uniform.
Your paper templates don’t need to be perfectly level. Instead, use your level tool to draw marks on the paper that represent level.
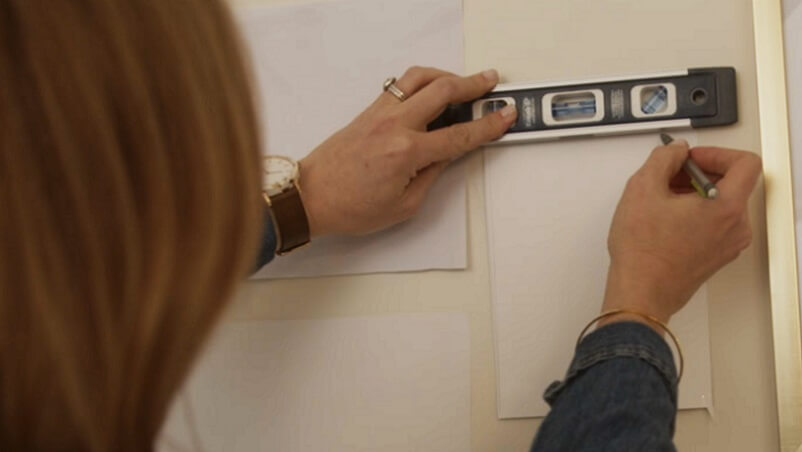
Use those marks to sink nails in the correct spots without having to draw on your wall.
Once your templates are set up, you can begin hanging. Start by hanging a picture in the centre of the gallery, then work towards the edges. This way, if you need to adjust, you can make the same adjustments on both sides and keep the gallery symmetrical.
Hanging difficult frames
Some artwork may not hang easily on nails. It may have an uneven frame, or no frame at all.
For hard-to-hang pictures, use Velcro strips.
Stick strips to the back of the frame, and carefully set it in place. Rest your level atop the frame to make sure it’s straight as you stick it to the wall.
You can use Velcro strips on non-difficult frames, too. The strips ensure that your carefully laid gallery wall won’t shift after you’ve completed it.
Clean up and style
Once your pictures are all hung, all that’s left is to tidy up and style the area around your new gallery wall.
Remove the painter’s tape and replace any furniture that you had to move. Then, take a step back and enjoy your handiwork!
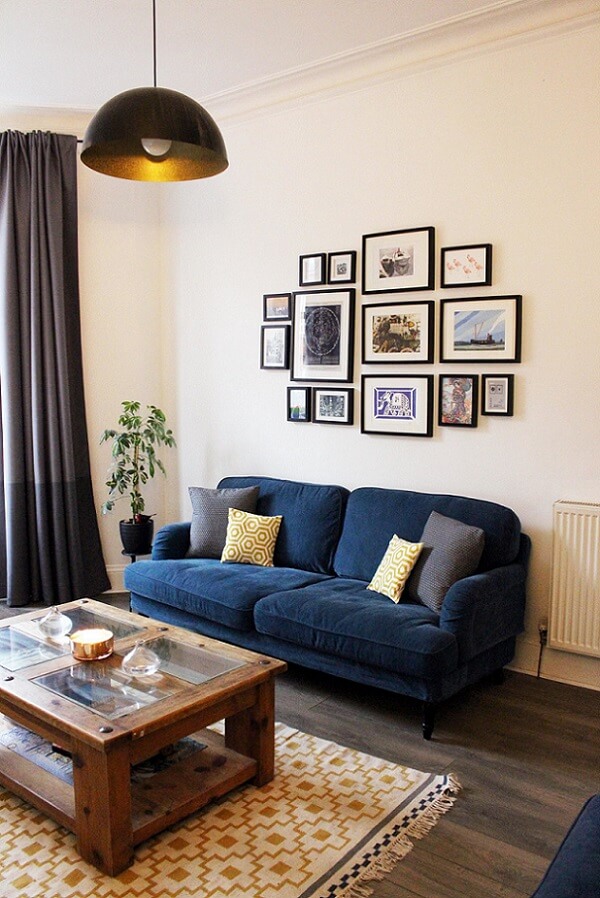
For more tips and instructions on designing your gallery wall, check out our Quick Design Tips video series with interior designer Lisa Moody.
Don’t forget to consider your home insurance after creating your new gallery. One framed picture may not be worth a lot, dozens together can add up so make sure to insure your new gallery wall. Make sure your personal property coverage has a high enough limit to cover any new pictures you’ve purchased.
If any of the pieces of your gallery wall are unique or rare, you may need to secure fine art coverage from your home insurance provider. Talk to your provider if you aren’t sure.
Watch the full video
Want to learn more? Visit our Interior Design resource centre for inspiration and tips to help you create the perfect living space. Or, get an online quote in under 5 minutes and find out how affordable personalized home insurance can be.


